
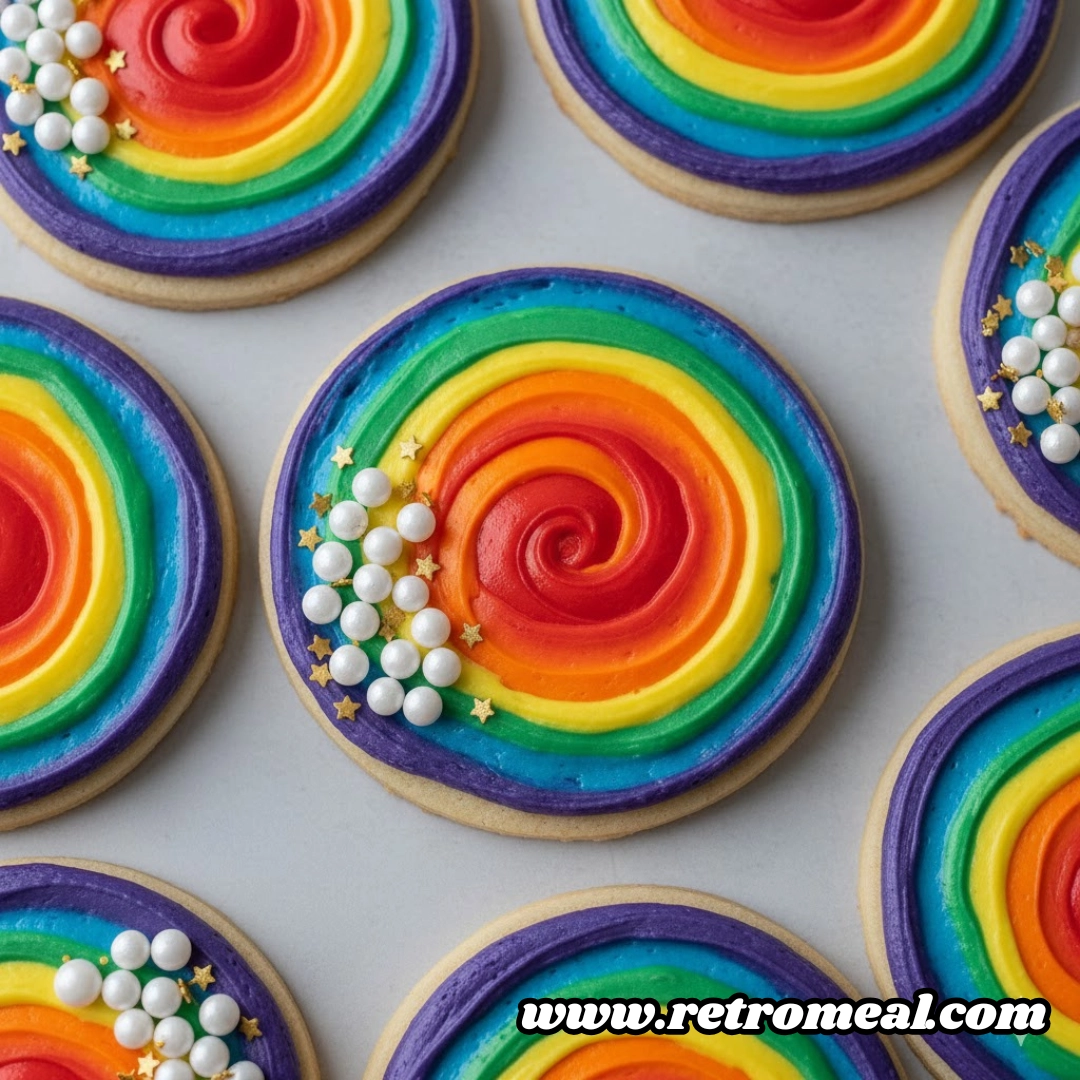
Every home baker understands the quiet thrill of a perfectly baked sugar cookie, but the real magic happens during the decorating phase. Finding a topping that balances flavor, texture, and stability is often the greatest challenge in the kitchen. This specific Sugar Cookie Frosting is a quintessential addition to your baking repertoire, designed specifically for those who need a reliable, crusting finish that looks professional and tastes nostalgic.
Unlike heavy buttercreams that can wilt under kitchen heat or melt when cookies are stacked for gifting, this recipe utilizes a specific base to ensure a stiff, glossy, and durable finish. Whether you are prepping for a large-scale holiday cookie swap or simply spending a rainy afternoon decorating with children, this recipe offers the perfect canvas for your edible art. It transitions beautifully from a soft, spreadable consistency to a firm set, making it the gold standard for anyone who takes pride in their cookie presentation.
Table of Contents
Essential Ingredients for a Flawless Finish
To achieve the iconic look and feel of high-quality bakery cookies, you only need five simple pantry staples. The beauty of this recipe lies in its simplicity and the specific chemistry between these components.
- One half cup shortening: This is the secret to a stable frosting. Shortening provides a neutral base that holds its shape much better than butter and results in a pure white color that is perfect for dyeing.
- Four cups confectioners sugar: Also known as powdered sugar or icing sugar, this provides the structure and sweetness. Its fine texture ensures the frosting is smooth rather than gritty.
- Five tablespoons milk: This acts as your thinning agent. You may need slightly more or less depending on the humidity in your kitchen and your desired thickness for piping or spreading.
- One teaspoon vanilla extract: This provides the classic “birthday cake” aroma and flavor. For a different profile, you can swap this for almond extract or even clear vanilla to maintain a bright white hue.
- Food coloring: This is optional but highly recommended for festive occasions. Gel colors work best to maintain the consistency of the frosting.

Master Instructions for Mixing and Application
Follow these steps precisely to ensure your frosting reaches the ideal “stiff and glossy” stage that makes it so easy to work with.
- Prepare Your Station: Begin by gathering all your ingredients and equipment. Using a stand mixer or a high-powered hand mixer is recommended to achieve the necessary aeration.
- Cream the Base: Place the one half cup of shortening into a large mixing bowl. Beat it on medium-high speed until it is completely creamy and free of any lumps. This step is vital for a smooth final product.
- The Alternating Method: Begin adding the four cups of confectioners sugar gradually. Do not dump it all in at once, or you will end up in a cloud of sugar dust. Mix in small amounts of sugar, alternating with the five tablespoons of milk. Continue this process until the mixture is smooth and combined.
- Develop the Texture: Add the one teaspoon of vanilla extract. Increase the mixer speed and continue to beat the frosting for approximately five minutes. You are looking for a transition where the frosting becomes stiff, glossy, and holds a firm peak. If it feels too dry, add milk one teaspoon at a time.
- Tinting: If you are using food coloring, divide the frosting into smaller bowls. Add your colors drop by drop until you reach your desired shade.
- Decorate: Use a flat spatula to spread the frosting onto cooled cookies, or transfer the mixture to piping bags fitted with your favorite tips for detailed designs.
Step-by-Step Details for Achieving Professional Results
The process of making Sugar Cookie Frosting is as much about the technique as it is about the ingredients. When you begin beating the shortening, you are essentially creating a matrix that will hold air and sugar. Shortening has a higher melting point than butter, which is why this recipe is so popular for cookies that need to travel.
As you incorporate the confectioners sugar, you will notice the mixture goes through several stages. Initially, it may look crumbly. This is where the milk comes in. The milk dissolves the sugar crystals just enough to create a suspension. By alternating the sugar and the milk, you prevent the shortening from becoming “broken” or separated. This methodical approach ensures that the fat and the liquid emulsify perfectly.
The final five-minute beating period is the most important part of the process. This isn’t just about mixing; it’s about whipping. During these five minutes, you are forcing air into the fats, which creates that “glossy” sheen mentioned in the instructions. A glossy frosting reflects light beautifully, making your cookies look like they came from a high-end patisserie. If you stop too early, the frosting may taste “greasy” because the sugar hasn’t been fully integrated into the whipped fat.
When it comes to the application, timing is everything. You must ensure your sugar cookies are completely cool to the touch. If there is even a hint of warmth remaining in the cookie, the shortening base will soften, and your beautiful designs will slide right off the edge. Once applied, this frosting undergoes a “crusting” process. The outer layer dries to the touch, which allows you to touch the surface lightly without leaving a fingerprint.

Unique Culinary Insights for the Home Baker
Understanding the science of your ingredients can elevate your baking from good to extraordinary. One of the primary reasons this recipe uses shortening is for the aesthetic of the final cookie. Butter-based frostings always have a slight yellow or ivory tint. If you are trying to make “Snowflake” cookies or bright blue “Winter Wonderland” treats, starting with a pure white base is essential.
Another insight involves the “stiffness” of the icing. If you are planning on doing intricate pipe work, such as writing names or drawing fine lace patterns, you want the frosting to be quite stiff. This means you should stay on the lower end of the milk measurement. However, if you want a smooth, “flooded” look where the frosting levels itself out, you can add a few extra drops of milk.
For those who find shortening-based frostings a bit too sweet, a tiny pinch of fine sea salt can be added during the creaming stage. This doesn’t make the frosting salty; rather, it cuts through the intense sugar profile and highlights the vanilla notes. Speaking of vanilla, using a high-quality Madagascar Bourbon vanilla or a clear imitation vanilla (for whiteness) can drastically change the sophisticated nature of the flavor profile.
Modifications and Creative Substitutions
While the original recipe is a classic, there are several ways to tweak it to fit your specific needs or flavor preferences.
- Flavor Profiles: While vanilla is the standard, you can easily substitute half of the vanilla for almond extract, peppermint extract, or lemon juice. Peppermint is especially popular for candy cane-shaped cookies during the December holidays.
- Dairy-Free Options: Since the fat source is shortening, this recipe is very easy to make completely vegan or dairy-free. Simply swap the five tablespoons of milk for a nut milk like almond or soy, or even use room-temperature water.
- Consistency Adjustments: If you find the frosting is too soft for your climate (especially in high-humidity areas), you can add an additional half cup of confectioners sugar. Conversely, in very dry climates, you might find you need an extra tablespoon of milk to keep it spreadable.
- Citrus Zest: For a refreshing twist, fold in a teaspoon of finely grated orange or lime zest. This adds a beautiful fleck of color and a bright acidity that balances the sweetness of the powdered sugar.
Accompaniments and Creative Serving Suggestions
A great Sugar Cookie Frosting deserves a great cookie. While it is designed for the classic rolled sugar cookie, it also pairs exceptionally well with gingerbread men, where the white frosting provides a sharp contrast to the dark, spiced dough.
If you are hosting a decorating party, serve the frosting in a variety of small bowls with different colored spoons. Provide a “topping bar” that includes:
- Nonpareils and sanding sugar.
- Edible glitter for a magical touch.
- Crushed candy canes or malted milk balls.
- Small silver dragées (for decorative use).
For a unique dessert display, consider “Cookie Sandwiches.” Take two thin sugar cookies and use this frosting as a filling. Because it firms up so well, the filling won’t squeeze out the sides when you take a bite, creating a tidy and delicious treat.

Deep-Dive Frequently Asked Questions
Why does my frosting feel gritty even after mixing for five minutes?
Grittiness usually occurs if the confectioners sugar was not sifted or if it was added too quickly. To fix this, you can try adding a tiny bit more milk and beating it for an additional two minutes on high speed. The liquid helps dissolve the fine sugar particles into the shortening.
Can I substitute butter for the shortening in this specific recipe?
You can, but the properties of the frosting will change significantly. Butter has a lower melting point, meaning the frosting will be much softer and may not “crust” as firmly. Additionally, the frosting will have a yellow tint rather than being pure white, which may affect your food coloring results.
How long does it take for this frosting to dry enough for stacking?
Typically, this frosting needs about four to six hours to “set” enough for light stacking. However, for the best results and to ensure no smudging, it is recommended to let the cookies sit out in a single layer overnight. Always place a piece of parchment paper between layers just to be safe.
Is it possible to overbeat this frosting?
It is difficult to overbeat a shortening-based frosting compared to a heavy cream-based one. In fact, more beating usually results in a fluffier, lighter texture. However, if you beat it too much, you might incorporate too many air bubbles, which can make it harder to get a perfectly smooth surface when spreading.
Achieving the Perfect Set for Long-Term Storage
The ultimate goal for many bakers is a cookie that looks as good on day three as it did on day one. Because this recipe uses shortening, it is remarkably shelf-stable. Once the frosting has hardened, the cookies can be stored in an airtight container at room temperature for up to three days.
If you need to store them longer, these cookies freeze surprisingly well. Place the frosted, fully-set cookies in a freezer-safe container with parchment paper between the layers. They will stay fresh for up to three months. When you are ready to serve them, thaw them at room temperature while still in the container to prevent condensation from forming directly on the frosting, which could cause the colors to bleed.
Nutritional Profile per Serving
| Nutrient | Amount per Serving |
| Calories | 59 |
| Total Fat | 2 grams |
| Total Carbohydrates | 10 grams |
| Protein | 0 grams |
| Cholesterol | 0 milligrams |
| Sodium | 1 milligram |
Nutritional Disclaimer
The nutritional information provided is an estimate based on standard ingredients. Actual values may vary depending on the specific brands used and any modifications made to the recipe. Please consult with a healthcare professional for specific dietary needs.
Sugar Cookie Frosting
Ingredients
- 0.5 cup shortening
- 4 cups confectioners sugar
- 5 tbsp milk, or more as needed
- 1 tsp vanilla extract, or more to taste
- food coloring (optional)
Instructions
- Place the shortening in a large mixing bowl and beat until completely creamy and smooth.
- Gradually add the confectioners sugar in small amounts, alternating with the milk, mixing after each addition until the mixture is smooth.
- Add the vanilla extract and increase the mixer speed. Continue beating for about 5 minutes until the frosting is stiff and glossy.
- If using food coloring, divide the frosting into small bowls and stir in colors until desired shades are achieved.
- Spread immediately onto cooled cookies or transfer to a piping bag for detailed decorating. Allow to set before stacking.
Notes
Equipment
- stand mixer or hand mixer Essential for aeration
- large mixing bowl
- measuring cups and spoons
- spatula
- Piping bags and tips Optional for decorating


