
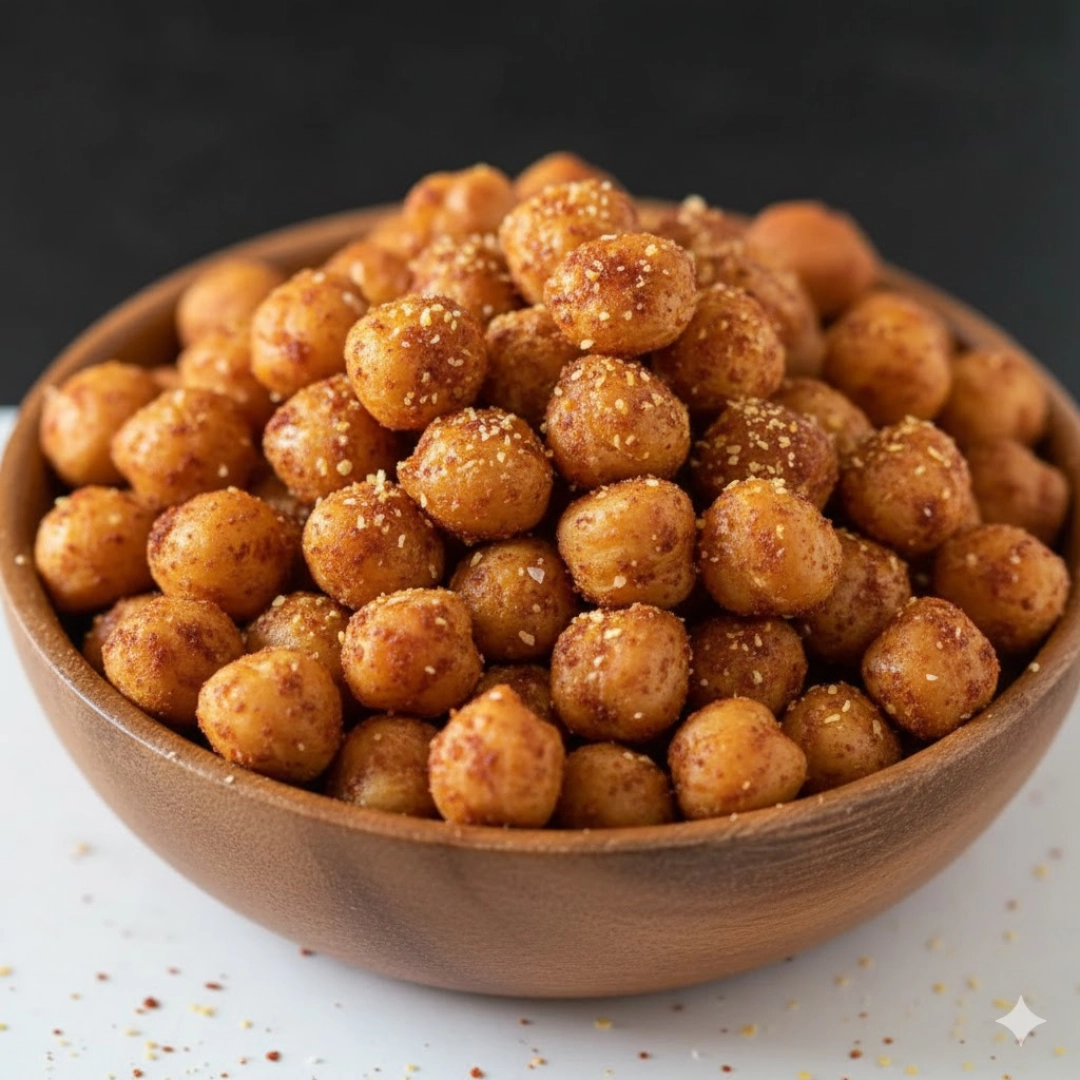
The appeal of the perfect snack often lies in its deceptive simplicity. You want something crunchy, deeply satisfying, and robustly flavored, yet quick to prepare and reasonably wholesome. That is precisely the promise fulfilled by Spiced Air-Fried Chickpeas. These garbanzo beans transform from a soft, humble legume into a powerful, addictive bite with just a blast of superheated air and a thoughtful blend of seasonings. They are the ideal, guilt-free substitute for potato chips or croutons, ready to be deployed as a stand-alone treat, a crunchy layer on salad bowls, or a savory garnish for warming soups. This recipe is designed for maximum crunch and flavor adhesion, creating a staple snack that disappears faster than you can make it.
Table of Contents
The Simple Pantry List: Ingredients for Crisp Perfection
The magic of this recipe is achieved with minimal fuss and readily available items. Ensuring high quality for each element is key to the final texture and depth of spice.
For the Chickpeas and Base:
- 1 (15 ounce) can chickpeas (also called garbanzo beans), fully rinsed and drained
- 1 tablespoon quality olive oil
For the Flavor Layer:
- 1 tablespoon nutritional yeast
- 1 teaspoon smoked paprika
- 1 teaspoon granulated garlic
- ½ teaspoon fine sea salt
- 1 pinch ground cumin

Air Fryer Technique: Achieving Maximum Crunch
Follow these high-level steps for an impeccable texture and perfectly adhered spice coating.
- Prepare the Chickpeas: Once rinsed and drained, spread the chickpeas across a double layer of paper towels. Cover them with another layer and allow them to air-dry for at least thirty minutes. This is a non-negotiable step for crispness.
- Preheat the Appliance: Set the air fryer to three hundred fifty-five Fahrenheit (355 F) and let it preheat completely. Adequate heat is essential for flash-drying the beans.
- Apply the Coating: In a medium-sized bowl, combine the thoroughly dried chickpeas with the olive oil, nutritional yeast, and all dry spices (smoked paprika, granulated garlic, salt, and cumin). Toss vigorously until every single chickpea is evenly coated.
- Load the Basket: Transfer the coated chickpeas into the preheated air fryer basket, ensuring they are spread in a single, even layer. If you are doubling the recipe, work in separate batches.
- Initial Cook and Shaking: Cook for eight minutes, then remove the basket and give it a firm shake to redistribute the beans. This ensures even browning.
- Final Crisp: Continue cooking, shaking the basket firmly every four minutes, until the beans are deeply golden-brown and delightfully crisp. The total cooking time should be between twenty and twenty-two minutes.
- Cool and Serve: Transfer the finished beans to a serving bowl and allow them to cool slightly. They will crisp up further as they reach room temperature.

Deeper Dive: Mastering the Crisping Process
Turning a canned, watery legume into a shatteringly crisp snack requires attention to texture and heat dynamics. Here is a granular breakdown of the crucial stages of preparation and cooking.
The Absolute Necessity of Drying
The number one reason home cooks fail to achieve true crispness in roasted or air-fried chickpeas is insufficient drying. Canned chickpeas, while convenient, are stored in water and need to be rendered completely dry on the exterior.
The goal during the thirty-minute drying period is not just surface drying, but moisture equalization. Placing them between two layers of absorbent paper towel helps wick away residual liquid from the rinsing process. If you skip this, or cut the time short, the residual moisture will steam inside the air fryer basket before it evaporates, resulting in a soft, chewy interior and exterior—the opposite of our desired result. For an even more intense drying hack, after the paper towel soak, spread them on a baking sheet and pop them into a cold oven while it preheats.
Achieving Optimal Spice Adhesion
The seasoning process is a two-part system: oil and dry spices. The tablespoon of olive oil acts as the bonding agent. It lightly lubricates the surface of the beans, giving the granulated spices something to cling to. It is vital to toss the chickpeas with the oil first, ensuring a thin, even coat. Immediately following this, the dry ingredients—the nutritional yeast, paprika, garlic, salt, and cumin—are added.
Nutritional yeast, beyond adding a savory, slightly cheesy depth, plays a dual role here: it is both a flavor enhancer and a texturizer, creating a slight, porous texture on the bean’s surface which further helps the remaining spices adhere when heat is applied. Toss the mix until the oil disappears and the surface of the beans looks entirely matte and fully coated.
Air Flow and Temperature Management
The air fryer’s function relies on high, circulating heat. Preheating to three hundred fifty-five Fahrenheit is essential because it ensures the moment the beans hit the basket, the residual moisture starts evaporating immediately. A cold air fryer allows the beans to sit and warm up slowly, which delays the crisping and can lead to a less crunchy result.
When loading the basket, treat the chickpeas like you would any fried food: they need personal space. Overcrowding traps steam and prevents the hot air from reaching the entire surface of the beans. Aim for a single layer. If a second layer is unavoidable, you absolutely must shake the basket more frequently, perhaps every three minutes, to swap the top and bottom layers and promote thorough drying and browning.
Visual and Sensory Doneness Checks
Knowing when to pull the chickpeas is an art. Do not rely solely on the timer.
- Aroma: By the fifteen-minute mark, the kitchen should be filled with the deep, warm fragrance of smoked paprika and toasted cumin.
- Sound: Listen carefully around the twenty-minute mark. The chickpeas should sound like dry gravel when you shake the basket, not damp, heavy pebbles.
- Visual: They should be noticeably shrunk, wrinkled, and a deep, mahogany brown color, perhaps even slightly darker than the paprika itself.
- Taste: The ultimate test. Carefully pull one out (let it cool for ten seconds!), and bite into it. A perfectly cooked Spiced Air-Fried Chickpeas should have a thin, brittle outer shell that shatters cleanly, giving way to a slightly airy but dry center. If the center is still soft or creamy, return them for another two minutes.
Expert Advice: Elevating Your Snack Game
Achieving the perfect, long-lasting crunch involves a few expert tricks that move beyond the basic steps.
- The “Laundered” Chickpea Hack: For the ultimate drying, after rinsing the chickpeas, place them in a clean, old kitchen towel (not terry cloth, which can shed lint). Gently rub them together within the towel. The fabric will absorb more moisture than paper towels, dramatically reducing the thirty-minute passive drying time.
- Oil Selection: While olive oil is standard, consider using an expeller-pressed avocado or grapeseed oil. These oils have a higher smoke point, which can be beneficial in the intense heat of the air fryer, though the small quantity used here minimizes the risk with olive oil.
- Layering Salt and Spices: Reserve a very small pinch of the fine sea salt and add it after the chickpeas are cooked. The heat from the air fryer can mute salt flavor, so a dusting of fresh salt right as they come out of the basket brightens the entire spice profile.
- Cooling for Maximum Crunch: Never transfer hot, finished chickpeas into a sealed container. The residual heat will generate steam, which will instantly condense and make them soggy. Always cool them completely—spread out on a wire rack or a large plate—for at least twenty minutes before storage.
- Adjusting for Altitude: If you live at high altitude, the internal moisture of the beans can boil faster, potentially causing the chickpeas to “explode” or puff too much. Try lowering the temperature to three hundred forty Fahrenheit and increasing the cook time slightly to compensate.
- Maximizing Granulated Garlic: For a punchier garlic flavor, toast the granulated garlic powder before using it. Briefly sauté it in a dry pan for thirty seconds until fragrant, or toss it with the oil alone before adding the beans. This deepens the flavor of the garlic component.
Flavor Swaps and Ingredient Substitutions
The beauty of this air-fried recipe lies in its adaptability. Once you have the drying and crisping technique down, you can pivot the flavor profile entirely.
Sweet and Salty Maple Chili
Instead of smoked paprika and cumin, use a blend of two teaspoons of cinnamon, half a teaspoon of cayenne pepper, and a tablespoon of brown sugar. Toss with the oil, cook as directed, and immediately upon removal, drizzle with one teaspoon of real maple syrup. This yields a wonderfully complex, brittle coating.
Mediterranean Herb Mix
For a lighter, fresher taste, substitute the smoked paprika and cumin with one teaspoon each of dried oregano and dried thyme, and one half teaspoon of finely ground rosemary. Add the zest of half a lemon after the chickpeas have cooled for a bright, aromatic finish.
Classic Ranch Inspired
A popular flavor is the nostalgic, creamy herb taste of ranch dressing. Omit all the spices listed and instead, toss the oiled chickpeas with two teaspoons of a high-quality, powdered ranch dressing mix (ensure it is dairy-free if needed). The buttermilk powder often found in these mixes adheres beautifully and provides a tang.
Curry Powder Power
For a warm, deeply savory snack, replace the paprika and cumin with two teaspoons of your favorite curry powder (Madras or mild). Add a quarter teaspoon of ground turmeric for color and a pinch of cayenne for heat. This variation is particularly excellent as a topping for Indian-inspired lentil soups.

Pairing Suggestions: Ways to Enjoy Your Roasted Beans
These savory, crunchy chickpeas are far too versatile to be enjoyed only straight from the bowl. Their texture and spice profile allow them to integrate seamlessly into several meals.
- The Ultimate Salad Topper: Replace traditional croutons with these spiced beans. The deep flavor stands up well against bitter greens like arugula or frisée, and they add a much-needed protein element. Try them on a simple Caesar or mixed green salad dressed with a vinaigrette.
- Soup and Chili Garnish: A sprinkle of the air-fried beans adds an unexpected layer of texture to thick, creamy soups (like tomato or butternut squash) or hearty beef chili. They offer a savory, brittle counterpoint to the soft warmth of the broth.
- Trail Mix Inclusion: Combine the chickpeas with roasted nuts, dried cranberries, and pretzels for a custom, high-fiber, homemade trail mix perfect for long hikes or mid-day energy boosts.
- Elevating Grain Bowls: Scatter a generous portion over lunch bowls built on rice, quinoa, or farro. They provide a crunchy element that contrasts nicely with soft vegetables and creamy sauces, adding both visual interest and flavor.
Common Questions Answered by a Culinary Expert
What is the role of nutritional yeast in this recipe?
Nutritional yeast serves two main functions. Flavor-wise, it provides a distinctive, savory, umami flavor that is often described as cheesy or nutty, greatly enhancing the overall profile of the snack. Texture-wise, it is a dry powder that helps absorb residual oil and moisture on the chickpea’s surface, ensuring the smoked paprika and other spices stick firmly during the high-heat cooking process.
Can I use chickpeas that I cooked from scratch instead of canned ones?
Absolutely. If using home-cooked chickpeas, you must ensure they are significantly drier than canned ones, as they often hold more internal moisture. After cooking and cooling, they should be spread on a towel and allowed to dry for several hours, or even overnight in the refrigerator, until their skins feel completely taut and dry to the touch. The dryer the exterior, the better the crunch.
My chickpeas were perfect when they came out, but they became chewy the next day. How do I fix this?
This is a common issue caused by moisture absorption from the surrounding air. The solution is simple reheating. Place the chickpeas back into the air fryer basket at a slightly lower temperature—around three hundred twenty-five Fahrenheit—for four to six minutes. This quick burst of heat will wick away the absorbed surface moisture and restore their original crunch without burning the spice coating.
Why is shaking the basket so important during the cooking cycle?
Shaking the air fryer basket is critical because it mimics the action of deep frying, which continuously moves the food. In an air fryer, the heating element is typically at the top. Shaking ensures that the beans on the bottom are moved to the top and that all sides of every single bean are exposed to the direct, high-speed circulating heat. This prevents burning on one side and guarantees uniform browning and maximum crispness across the entire batch.
Nutritional Snapshot
This estimate is calculated based on the precise ingredients listed for the four-serving yield.
| Nutrient | Amount per Serving |
| Calories | 124 kcal |
| Protein | 5 g |
| Carbs | 17 g |
| Fat | 4 g |
| Fiber | 4 g |
| Sugar | 0 g |
| Sodium | 502 mg |
Disclaimer
Nutrition information is an estimate and may vary based on preparation and ingredients used.

The Ultimate Spiced Air-Fried Chickpeas Recipe
Ingredients
- 1 can (15 ounce) chickpeas, fully rinsed and drained
- 1 tbsp quality olive oil
- 1 tbsp nutritional yeast
- 1 tsp smoked paprika
- 1 tsp granulated garlic
- 0.5 tsp fine sea salt
- 1 pinch ground cumin
Instructions
- Rinse and drain the chickpeas thoroughly. Spread them across a double layer of paper towels, cover with another layer, and allow them to air-dry for at least 30 minutes. This ensures maximum crispness.
- Set the air fryer to 355 Fahrenheit and let it preheat completely while the chickpeas dry.
- In a medium-sized bowl, toss the dried chickpeas with the olive oil until lightly coated. Then, add the nutritional yeast, smoked paprika, granulated garlic, salt, and cumin. Toss vigorously until every bean is evenly coated.
- Transfer the coated chickpeas into the preheated air fryer basket, ensuring they are spread in a single, even layer. Cook for 8 minutes.
- Remove the basket and give it a firm shake to redistribute the beans. Continue cooking for an additional 12 to 14 minutes, shaking every 4 minutes, until the beans are deeply golden-brown and delightfully crisp.
- Transfer the finished beans to a wire rack or large plate and allow them to cool completely before serving or storing. They will reach maximum crispness as they cool.
Notes
Equipment
- air fryer Must be capable of reaching 355 Fahrenheit
- Paper towels or clean kitchen towel For drying the chickpeas
- mixing bowl


