
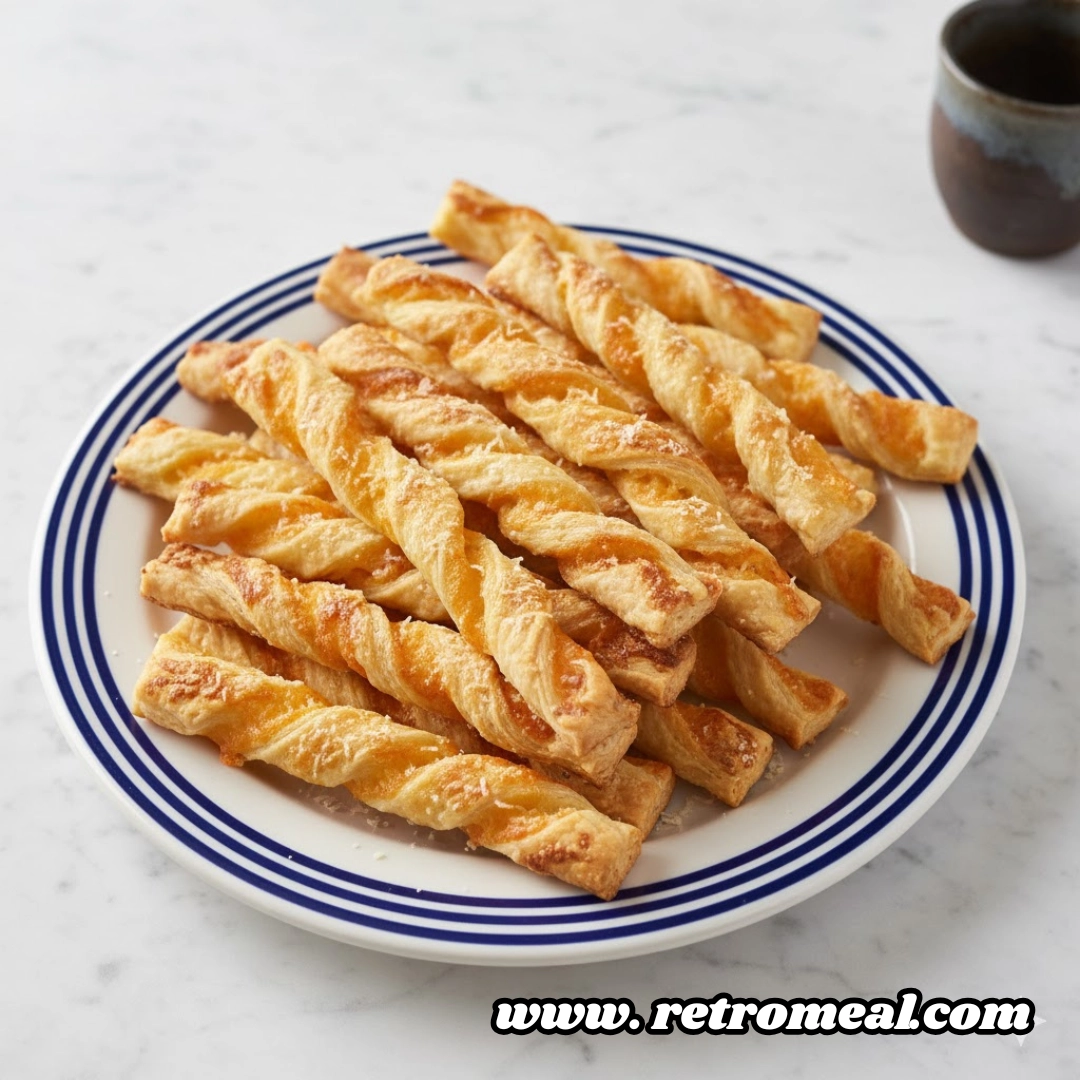
Planning a social gathering often brings a mix of excitement and mild panic, especially when it comes to the appetizer spread. You want something that looks sophisticated, tastes like it came from a high-end bakery, and pairs perfectly with a crisp glass of juice . Enter the Puff Pastry Cheese Straws. These elegant, spiraled wands of dough are the ultimate party hack, relying on the incredible engineering of laminated dough to create a snack that is light as air yet deeply satisfying. With a shatteringly crisp texture and a punch of salty, savory cheese in every bite, they are consistently the first thing to disappear from the buffet table. Best of all, they require minimal ingredients and effort, allowing you to focus on your guests rather than being tied to the stove.
Table of Contents
Ingredients
To create these gourmet appetizers, you only need two primary components. The quality of these ingredients will directly impact the final flavor, so choose varieties that you truly enjoy eating on their own.
- 1 1/2 cups grated mixed hard cheese: A blend works beautifully here. Consider using a combination of Parmesan, Pecorino Romano, or a sharp aged cheddar. The key is to use a hard cheese that can be finely grated so it integrates smoothly into the dough layers.
- 2 sheets thawed store-bought puff pastry: Ensure your pastry is thawed according to package directions but remains cold to the touch. This is divided for use across two separate batches.

Instructions
- Prepare the Environment: Arrange a rack in the middle position of your oven and preheat the oven to 375 degrees Fahrenheit. While the oven warms, line two large baking sheets with parchment paper or silicone baking mats to prevent sticking and ensure even browning.
- Create the Cheese Base: Lightly dust your clean work surface by sprinkling 1/4 cup of the grated cheese directly onto the counter.
- Lay the Pastry: Carefully unfold or unroll one sheet of the puff pastry directly onto the bed of cheese. If the pastry feels stiff or begins to crack, pause and let it sit at room temperature for about ten minutes until it is pliable enough to handle without breaking.
- Add the Middle Layer: Evenly sprinkle another 1/4 cup of cheese over the top surface of the puff pastry sheet.
- Roll and Fold: Use a rolling pin to roll the pastry out until it reaches a thickness of approximately 1/8 inch. This action serves a dual purpose: it presses the cheese firmly into the dough and smoothes out any factory seams. Once rolled, fold the sheet of pastry exactly in half.
- Final Cheese Integration: Sprinkle the folded pastry with another 1/4 cup of cheese. Roll the pastry out a second time until it is once again 1/8 inch thick. Aim for one side to be roughly 10 inches long if you desire long straws, or between 6 and 8 inches for a shorter, snack-sized version.
- Cut the Strips: Using a sharp knife or a pastry wheel, cut the dough into long strips approximately 1 inch wide. Use a firm, straight-down motion rather than a sawing motion to avoid squashing the delicate layers of the puff pastry.
- Twist and Place: Carefully transfer each strip to your prepared baking sheet, leaving about an inch of space between them. As you lay them down, hold the ends and twist them in opposite directions to create a spiral. If the dough tries to unroll, gently press the ends into the parchment paper to anchor them.
- The Essential Chill: Place the baking sheet in the refrigerator for at least 10 minutes (and up to one hour). This firms up the butter in the pastry, which is the secret to a dramatic “puff” in the oven. Repeat the entire process with the second sheet of pastry and the remaining cheese while the first batch chills.
- Bake to Perfection: Slide the first sheet into the oven. Bake until the straws are visibly puffed, deep golden brown, and dry to the touch. Start checking smaller straws at the 15 minute mark, while longer straws may take up to 20 minutes.
- Cool and Set: Allow the straws to cool on the baking sheet for a few minutes until they are firm enough to lift without bending. Transfer them to a wire rack or a serving platter. Proceed to bake the second sheet.
- Serve: These are best enjoyed warm or at room temperature on the same day they are baked.

The Art of the Perfect Spiral: Step-by-Step Details
Understanding the mechanics of puff pastry is the first step toward becoming a master of the cheese straw. Puff pastry is a “laminated” dough, meaning it consists of hundreds of microscopic layers of flour and butter. When that butter hits the high heat of a 375 degree Fahrenheit oven, the water content in the butter evaporates, creating steam. This steam trapped between the layers is what causes the pastry to rise and become flaky.
By rolling the cheese into the dough, you are essentially seasoning the internal architecture of the snack. When you fold the dough in half and roll it again, you are creating a “book fold” that traps the cheese between new layers. This ensures that the salty, umami flavor of the Parmesan or aged cheddar isn’t just sitting on top—it is integrated into every shard of the pastry.
The “straight down” cutting technique mentioned in the instructions is vital. If you use a dull knife or a sawing motion, you risk “sealing” the edges of the pastry layers together. If the edges are sealed, the steam cannot escape properly, and your straws will be heavy and dense rather than light and airy. Always use a very sharp chef’s knife or a pizza cutter for the cleanest results.
Twisting the straws isn’t just for aesthetics. The spiral shape creates more surface area, which leads to more “crunch” points. It also helps the straw maintain its structural integrity so it can stand upright in a serving glass without snapping. If you find the dough is getting too soft to twist easily, don’t hesitate to pop it back into the fridge for five minutes to firm up the butter.
Unique Culinary Insights for Exceptional Flavor
To take your cheese straws from “good” to “unforgettable,” consider the type of cheese you are using. While the recipe calls for a hard cheese, the age of that cheese matters. A very young Parmesan will melt and disappear, whereas a Parmesan Reggiano aged for 24 months will provide a sharp, nutty bite that stands up to the richness of the butter.
Another secret to the perfect bake is the “dry touch” test. Many amateur bakers pull puff pastry out of the oven as soon as it turns golden. However, if the center of the twist still feels slightly soft or damp, the straw will lose its crunch within thirty minutes. You want to bake them until they feel almost like toasted crackers—firm and entirely devoid of moisture.
If you are working in a warm kitchen, your puff pastry may become sticky very quickly. Professional pastry chefs often use a “cold marble” or simply work fast to ensure the butter within the dough doesn’t reach its melting point before it hits the oven. If the dough feels like it is “slumping,” a quick 15 minute stint in the freezer can save the texture of the final product.

Modifications and Creative Substitutions
While the two-ingredient simplicity is the primary draw of this recipe, it also serves as a fantastic canvas for experimentation. If you want to move beyond the classic cheese profile, you can introduce aromatics and spices during the final rolling phase.
For a Mediterranean twist, finely minced fresh rosemary or thyme can be sprinkled along with the final addition of cheese. If you prefer a bit of heat, a dusting of Cayenne pepper or smoked paprika adds a beautiful reddish hue and a lingering spice that pairs exceptionally well with a cold lager.
For those who enjoy a bit of texture, you can add “everything bagel” seasoning or toasted sesame seeds to the exterior of the straws. Simply brush the twisted straws very lightly with a beaten egg (though not required by the base recipe) to help the seeds adhere before they go into the oven. If you find yourself out of Pecorino, you can even use a very finely shredded Gruyere, though you may need to bake them slightly longer to account for the higher fat content of a semi-hard cheese.
Accompaniments and Elegant Serving Ideas
Presentation is half the battle when serving appetizers. Because these cheese straws are rigid and long, they offer a unique vertical element to a grazing board. Instead of laying them flat on a plate where they might get crushed, try standing them up in a tall, narrow glass or a decorative ceramic crock. This makes them easy for guests to grab without touching other food.
These straws are the natural companions to a variety of small bites. They pair beautifully with:
- Charcuterie: The saltiness of the cheese complements cured meats like Prosciutto or Salami.
- Creamy Dips: Serve them alongside a bowl of whipped feta or a classic spinach artichoke dip for a sophisticated “chips and dip” experience.
- Soups: Instead of crackers, serve a pair of cheese straws alongside a bowl of creamy tomato basil or butternut squash soup.
- Pickled Elements: The richness of the buttery pastry is perfectly balanced by the acidity of cornichons or pickled red onions.
Deep-Dive Frequently Asked Questions
Can I use pre-shredded cheese from a bag for this recipe?
While it is tempting to use pre-shredded cheese for convenience, it is generally not recommended for this specific application. Pre-shredded cheeses are often coated in potato starch or cellulose to prevent clumping in the bag. These additives can interfere with how the cheese melts and integrates into the puff pastry layers, potentially leading to a grainier texture. For the best “melt-in-your-mouth” experience, buy a block of high-quality cheese and grate it yourself using the fine side of a box grater.
Why did my cheese straws turn out flat and greasy instead of puffy?
The most common culprit for flat cheese straws is the temperature of the dough. If the puff pastry becomes too warm before it enters the oven, the butter layers melt into the flour instead of creating steam. This results in a greasy, heavy cracker rather than a light straw. To prevent this, always ensure your pastry stays cold, and never skip the refrigeration step after you have twisted the straws. Also, ensure your oven has fully reached 375 degrees Fahrenheit before sliding the pans in.
How long will these stay crispy after they are baked?
Puff pastry is notoriously sensitive to humidity. In an ideal environment, these straws will stay perfectly crispy for about 2 to 4 hours. If you are making them for a party, it is best to bake them as close to serving time as possible. If they do start to soften, you can easily revive them by placing them back into a 350 degree Fahrenheit oven for about 3 to 5 minutes to crisp them back up. Once fully cooled, store any leftovers in an airtight container to shield them from moisture in the air.
A Final Word on Your New Favorite Appetizer
Mastering the puff pastry cheese straw is a rite of passage for any home entertainer. It is a recipe that proves you do not need a long list of ingredients to create something truly spectacular. The combination of high-quality butter in the pastry and the sharp, salty notes of the cheese creates a flavor profile that is universally loved. Whether you are hosting a formal holiday gala or a casual movie night with friends, these golden, spiraled treats are guaranteed to be the star of the show.
Nutrition Table
| Nutrient | Amount Per Serving (2 Straws) |
| Calories | 180 |
| Total Fat | 12 grams |
| Saturated Fat | 5 grams |
| Cholesterol | 15 milligrams |
| Sodium | 210 milligrams |
| Total Carbohydrates | 14 grams |
| Dietary Fiber | 1 gram |
| Sugars | 1 gram |
| Protein | 5 grams |
Disclaimer
The nutritional information provided is an estimate based on standard ingredient measurements and common brands of store-bought puff pastry. Actual nutritional content may vary depending on the specific brand of pastry and the type of cheese blend you choose to utilize in your kitchen.

Puff Pastry Cheese Straws
Ingredients
- 1.5 cups grated mixed hard cheese (such as Parmesan, Pecorino Romano, or aged cheddar)
- 2 sheets thawed store-bought puff pastry
Instructions
- Arrange a rack in the middle of the oven and heat the oven to 375 degrees Fahrenheit. Line 2 baking sheets with parchment paper or silicone baking mats.
- Sprinkle a work surface with 1/4 cup of the cheese. Unfold 1 sheet of puff pastry onto the cheese. Sprinkle another 1/4 cup of cheese over the pastry.
- Roll the pastry out to 1/8-inch thickness to press the cheese in. Fold the sheet in half.
- Sprinkle with another 1/4 cup of cheese and roll out again to 1/8-inch thick, aiming for about 10 inches in length.
- Cut the pastry into 1-inch wide strips using a sharp knife, cutting straight down without sawing.
- Transfer strips to the baking sheet and twist the ends in opposite directions to create a spiral. Press ends down to stick.
- Refrigerate for at least 10 minutes. Repeat the process with the second sheet of pastry and remaining cheese.
- Bake for 15 to 20 minutes until deep golden brown and dry to the touch. Cool briefly before serving.
Notes
Equipment
- Baking sheets
- parchment paper
- Rolling Pin
- Sharp chef’s knife or pizza cutter
- wire cooling rack


