There are few sounds as comforting as the gentle crackle of chicken sizzling in a pan that rhythmic dance of oil and breadcrumbs that filled my grandmother’s kitchen every Sunday afternoon. She called it her pollo alla milanese, but to me, it was simply “Nonna’s crispy chicken.”
I remember sitting at the wooden table, my legs too short to reach the floor, watching her press thin slices of chicken into seasoned breadcrumbs with her weathered hands. Each piece went into the skillet and came out golden, fragrant, and impossibly crisp. She’d squeeze a bit of lemon over the top and serve it alongside a bright salad or buttery pasta no matter the side, the chicken always stole the show.
Years later, I’ve spent countless evenings testing and refining this chicken milanese recipe to capture that same balance of tenderness and crunch. It’s the dish that makes any dinner feel like home humble ingredients transformed into something extraordinary.
Table of Contents
Why You’ll Love This Chicken Milanese
There’s something timeless about a good chicken milanese. It’s not fussy, but it feels elegant a dish that belongs just as much on a family table as it does in a cozy Italian café.
Here’s why this recipe wins every time:
- Crispy, golden perfection: The chicken is pounded thin and fried quickly for an even, crunchy coating.
- Light and bright: A squeeze of lemon keeps each bite fresh and flavorful.
- Simple pantry staples: You’ll likely have everything you need already.
- Versatile: Pairs beautifully with greens, potatoes, or pasta.
And the best part? It’s ready in under 30 minutes perfect for busy weeknights or spontaneous dinner guests.
Ingredients You’ll Need
For four servings, you’ll need:
- 2 boneless, skinless chicken breasts, sliced horizontally to create thin cutlets (about 4 total).
- 2 large eggs, beaten with a pinch of salt and pepper.
- ¾ cup all-purpose flour, for dredging.
- 1 cup Italian-seasoned breadcrumbs (or make your own using my Easy Sourdough Bread Recipe for extra flavor).
- ¼ cup olive oil (or vegetable oil) for frying.
- 1 fresh lemon, cut into wedges.
- Optional: Fresh parsley or basil, for garnish.

Pro Tip: For the best flavor, use homemade breadcrumbs from day-old sourdough. If you’re feeling ambitious, try baking your own with this Sourdough Sandwich Bread Recipe the texture adds a rustic crunch you can’t get from store-bought crumbs.
Step-by-Step: How to Make Chicken Milanese
Step 1: Prepare the Chicken
Start by laying your chicken breasts flat on a cutting board. Using a sharp knife, slice them in half horizontally so you have four thin cutlets. Place them between two sheets of parchment paper and gently pound them with a meat mallet or rolling pin until each is about ¼-inch thick.
This step isn’t just about looks even thickness means even cooking and a perfectly tender bite every time.
Step 2: Set Up the Breading Station
In three shallow bowls, arrange your dredging setup:
- Flour (seasoned lightly with salt and pepper)
- Beaten eggs
- Seasoned breadcrumbs
Working one piece at a time, coat each chicken cutlet first in flour (shaking off the excess), then dip it into the egg, and finally press it into the breadcrumbs until fully coated. Gently shake off any loose crumbs and set aside on a plate.
Kitchen tip: If you’re breading several pieces, don’t stack them the coating can get soggy.

Step 3: Pan-Fry to Golden Perfection
Heat olive oil in a large skillet over medium heat it should shimmer but not smoke. To test if it’s ready, sprinkle a few breadcrumbs into the pan; they should sizzle immediately.
Fry the chicken cutlets two at a time, about 3–4 minutes per side, until they’re golden brown and cooked through. The internal temperature should reach 165°F.
As each batch finishes, transfer it to a wire rack or baking sheet in a warm oven (around 200°F) to keep it crisp while you fry the rest.
The aroma will fill your kitchen with that comforting, familiar scent of golden breading and warm oil the same one that always drew me to my grandmother’s table.
Step 4: Serve with Lemon
Once all the chicken is cooked, arrange the cutlets on a platter and squeeze fresh lemon juice over the top. Garnish with chopped parsley and serve immediately.
The contrast between the crispy coating and the tangy lemon is what makes chicken milanese irresistible simple ingredients, layered with care.
Homemade Sauces for Chicken Milanese
My grandmother always said the best sauce is the one made from memory and for chicken milanese, a few simple options can transform the dish from familiar to unforgettable. Whether you prefer bright citrus, rich butter, or herb-forward freshness, these three sauces bring the golden cutlets to life.
1. Classic Lemon Butter Sauce
This velvety sauce is my favorite rich yet balanced, with a burst of lemon that mirrors the chicken’s crispy lightness.
In a small saucepan, melt 2 tablespoons of butter over medium heat. Stir in the juice of half a lemon and a pinch of salt and black pepper. For a touch of depth, add a dash of white wine or chicken broth and let it simmer for 1–2 minutes. Spoon over freshly fried chicken milanese and garnish with parsley.
The sauce clings to the breading just enough to create that perfect silky bite buttery, tangy, and nostalgic.
2. Rustic Tomato Caper Sauce
If you’re craving something more robust, this tomato-based option adds a rustic Italian charm.
In a skillet, heat a tablespoon of olive oil and sauté two cloves of minced garlic until fragrant. Add ½ cup of crushed tomatoes, a handful of capers, and a sprinkle of dried basil. Let it simmer gently for 10 minutes.
Spoon over the crispy cutlets or serve on the side. The salty brine of the capers against the juicy tomato makes the flavors sing.
3. Arugula Parmesan Drizzle
For something bright and modern, blend ½ cup arugula, 2 tablespoons olive oil, 1 tablespoon lemon juice, and 2 tablespoons grated Parmesan into a smooth green drizzle.
It’s peppery, fresh, and pairs beautifully with the golden crunch of chicken milanese. For an extra herby punch, you can also serve it alongside this refreshing Green Goddess Salad the creamy dressing and crisp greens perfectly balance the fried cutlets.
What to Serve with Chicken Milanese
The beauty of chicken milanese lies in its versatility. It’s satisfying enough to stand alone but pairs beautifully with side dishes that add texture and color to the plate.
Here are my favorite ways to serve it:
- Over a bed of arugula salad with shaved Parmesan and lemon vinaigrette.
- With creamy mashed potatoes or roasted baby potatoes for a comforting, homestyle meal.
- Topped with a fresh tomato and mozzarella salad for a lighter, summery feel.
- With a pasta side think spaghetti aglio e olio or a lemony butter noodle.

And if you’re in the mood to mix things up, try this creative pairing:
“For a surf-and-turf twist, pair this crispy chicken milanese with our Salmon Rice Bowl the tender salmon and zesty rice complement the Italian-style cutlets beautifully.”
Or transform leftovers into a delicious sandwich with your own homemade bread:
“Slice the cooled chicken and tuck it into our Sourdough Sandwich Bread with arugula and a swipe of mayo it’s a next-day lunch you’ll look forward to.”
Pro Tips for the Perfect Crisp
After testing this recipe countless times, here are my tried-and-true tips to achieve the most irresistibly crispy chicken milanese:
- Don’t rush the oil temperature. Keep it between 350°F–370°F. Cooler oil leads to soggy breading.
- Drain on a wire rack. Paper towels trap steam and soften the crust.
- Season each layer. Lightly salt the flour, the egg wash, and the breadcrumbs for balanced flavor.
- Serve immediately. Chicken milanese is best right after frying the coating stays perfectly crisp.
Based on years of testing and teaching home cooks, I’ve found that the key to golden, non-greasy results is temperature control and air circulation after frying.
Delicious Variations You’ll Love
One of the things that make chicken milanese so wonderful is how adaptable it is. Once you’ve mastered the basics, there’s room to play:
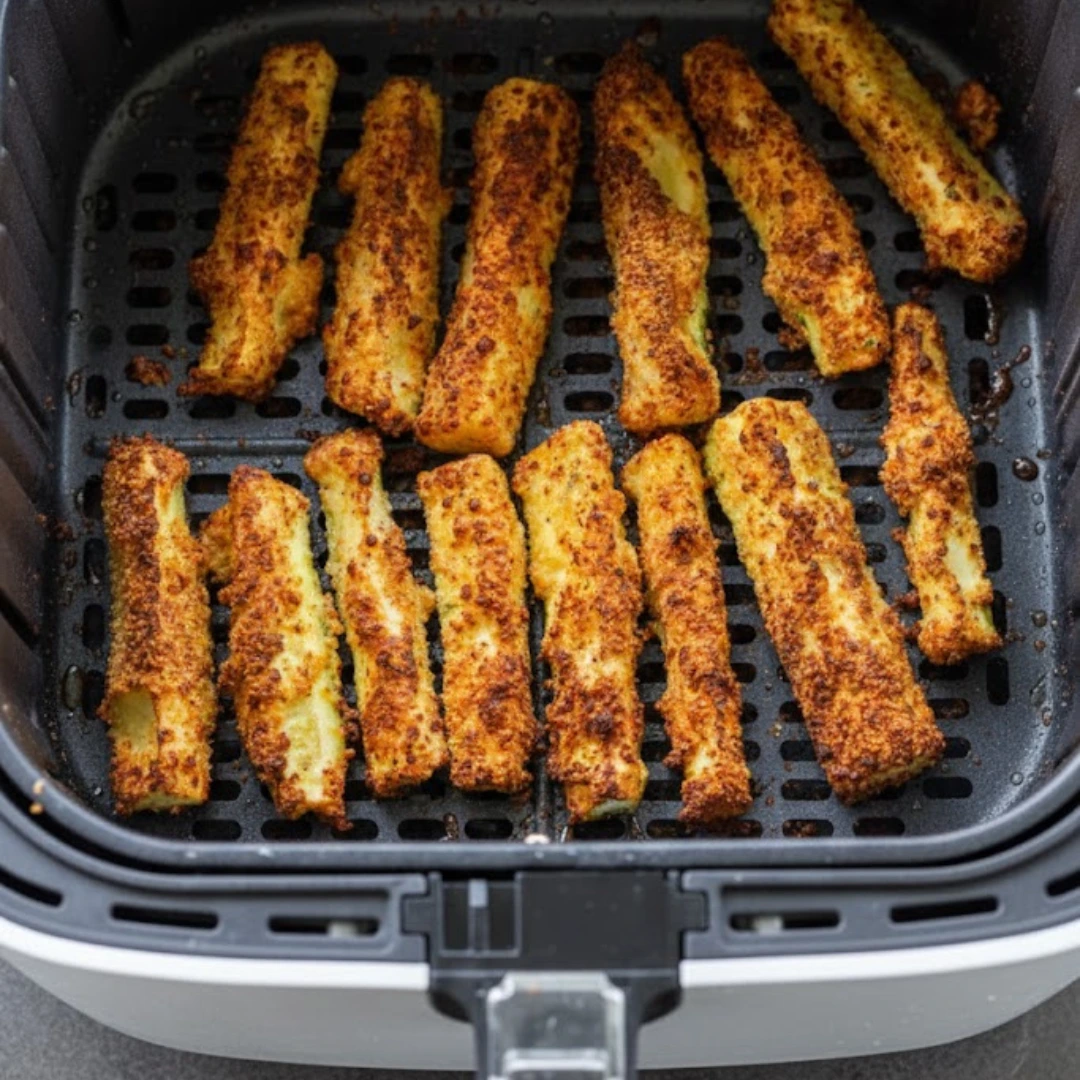
- Air Fryer Chicken Milanese: Lightly spray the breaded cutlets with oil and cook at 375°F for 10–12 minutes, flipping halfway through. You’ll still get that golden crunch with much less oil.
- Gluten-Free Version: Swap the flour for almond flour and use gluten-free breadcrumbs. The texture is just as crisp, with a slightly nutty flavor.
- Milanese–Parmesan Hybrid: Add grated Parmesan cheese to your breadcrumbs for a hint of cheesy depth.
- Spiced Lemon Marinade: For extra tenderness, marinate the chicken in lemon juice and olive oil for 20 minutes before breading.
And when you’re ready to indulge your sweet tooth afterward, treat yourself to something special from the RetroMeal kitchen maybe this Churro Cheesecake for a warm, cinnamon finish or a square of Dubai Chocolate Bar for a rich, melt-in-your-mouth ending.
If you prefer something cool and nutty, try the Pinon Ice Cream Recipe its earthy sweetness pairs surprisingly well after a savory Italian meal.
How to Store and Reheat Chicken Milanese
Even though chicken milanese is best eaten fresh, it reheats beautifully when stored properly.
- Refrigerator: Store leftovers in an airtight container for up to 4 days.
- Freezer: You can freeze fully cooked cutlets for up to 2 months. Separate layers with parchment paper to prevent sticking.
- Reheating: Reheat in a 350°F oven for 10–12 minutes, or until hot and crisp again. Avoid microwaving it makes the breading soft.
Pro tip: Slice leftover chicken into strips and toss it over salads for an easy next-day lunch.
Final Thoughts
Cooking chicken milanese always takes me back to my grandmother’s kitchen — the soft hum of her radio, the scent of lemon and oil, the golden crust she’d proudly show off before serving. This recipe is my way of keeping that memory alive and passing it forward to your table.
Whether you serve it with a lemon butter drizzle, over a fresh salad, or tucked into a warm sourdough sandwich, chicken milanese is one of those timeless dishes that remind us why home cooking matters — it connects us, comforts us, and keeps family traditions alive with every crispy bite.
Follow us in Pinterest.
FAQs
1. What sauce goes best with chicken milanese?
A lemon butter sauce is the most traditional pairing — its creamy tang balances the crispy coating. But if you want something heartier, try a rustic tomato caper sauce or a simple arugula drizzle.
2. Can I make chicken milanese ahead of time?
Yes! You can bread the chicken and store it in the fridge (uncooked) for up to 8 hours before frying. This actually helps the coating stick better.
3. Can I bake chicken milanese instead of frying it?
Absolutely. Brush each breaded cutlet with olive oil and bake at 425°F for about 15–18 minutes, flipping halfway through. You won’t get quite the same crisp as pan-frying, but it’s a lighter option.
4. What side dishes go best with chicken milanese?
for a pop of color and freshness.

Authentic Chicken Milanese with Lemon Butter Sauce
Ingredients
- 2 boneless, skinless chicken breasts, sliced horizontally
- 2 large eggs, beaten with salt and pepper
- 0.75 cup all-purpose flour
- 1 cup Italian-seasoned breadcrumbs
- 0.25 cup olive oil or vegetable oil, for frying
- 1 fresh lemon, cut into wedges
- Fresh parsley or basil, for garnish (optional)
Instructions
- Slice the chicken breasts horizontally to create 4 thin cutlets. Place between parchment paper and gently pound to ¼-inch thickness.
- Set up three shallow bowls for dredging: one with flour, one with beaten eggs, and one with breadcrumbs. Coat each cutlet in flour, then egg, then breadcrumbs. Set aside.
- Heat oil in a skillet over medium heat. Fry chicken cutlets 2 at a time, 3–4 minutes per side, until golden brown and cooked through (165°F internal temp).
- Transfer cooked cutlets to a wire rack or warm oven to keep crisp while frying remaining pieces.
- Squeeze fresh lemon over chicken before serving and garnish with herbs if desired.
- Optional: For the lemon butter sauce, melt 2 tbsp butter in a saucepan. Add juice of ½ lemon, a pinch of salt and pepper, and a splash of white wine or chicken broth. Simmer 1–2 minutes and spoon over cutlets.
Notes
Equipment
- sharp knife
- meat mallet or rolling pin
- 3 shallow bowls
- large skillet
- wire rack or baking sheet
- parchment paper