
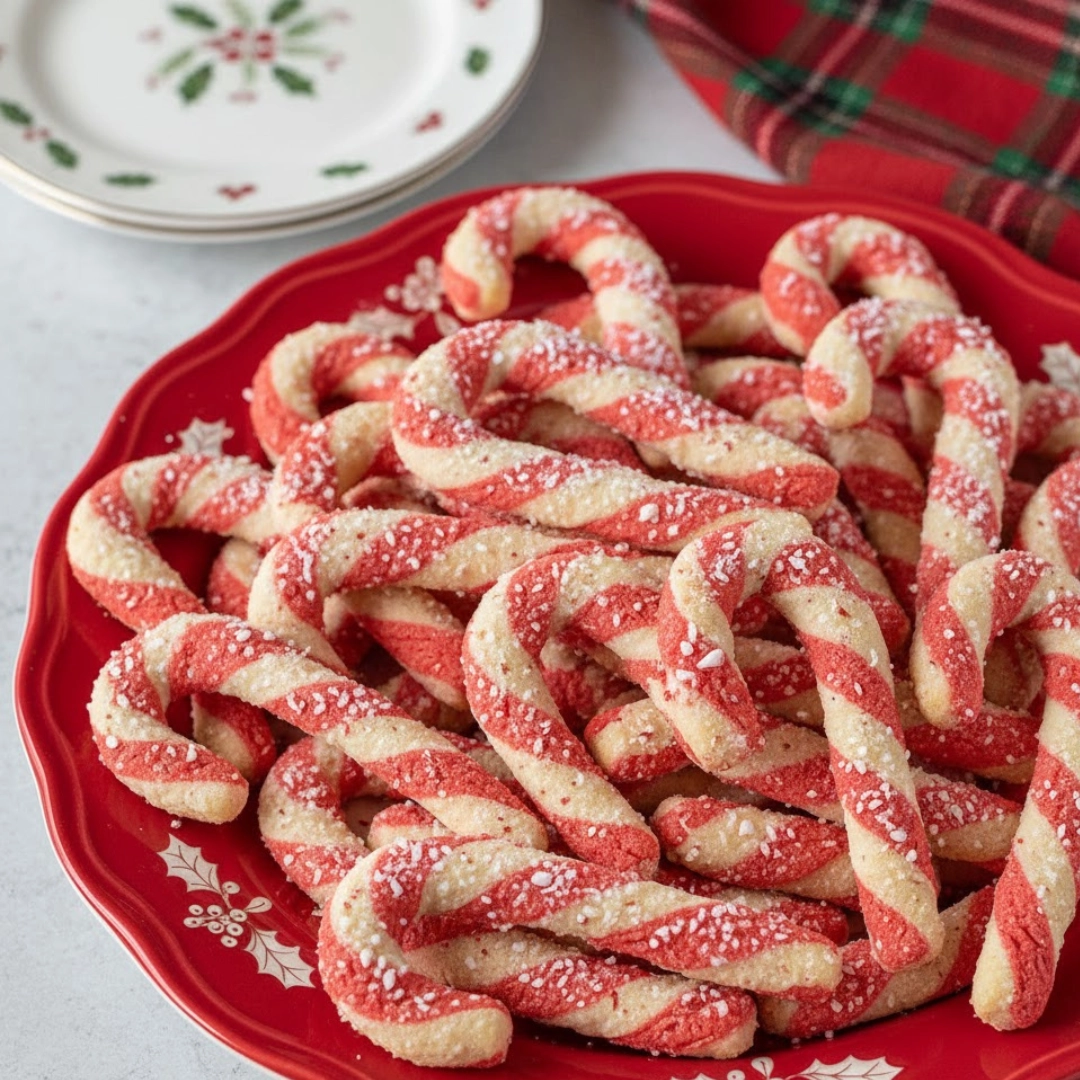
There are certain flavors and shapes that instantly signal the arrival of the holiday season, and the striped red-and-white curve of a fresh-baked confection is undoubtedly one of them. This is more than just a sugar cookie; it is a buttery, melt-in-your-mouth shortbread base expertly infused with the bright, cooling essence of peppermint. The beauty of Candy Cane Cookies lies in their simplicity and visual impact. They offer a refined balance—a tender interior contrasted by a faint crispness at the edges—making them essential for any serious baker’s winter repertoire, perfect for gifting, holiday exchanges, or simply enjoying with a steaming cup of tea.
Table of Contents
The Essential Pantry Checklist
Crafting the perfect, pliable dough requires precision in both measurement and ingredient temperature. Here are the core components, grouped for efficiency, using US standard measurements.
For the Dough Base:
- 2 cups (240 grams) All-Purpose Flour: Use a quality, unbleached variety.
- 1 teaspoon Baking Powder: This adds a subtle lift without compromising the dense, shortbread structure.
- one half teaspoon Fine Sea Salt: To balance the sweetness and amplify the flavor of the butter and peppermint.
- 1 cup (226 grams) Unsalted Butter: Must be softened to true room temperature for optimal creaming.
- 1 cup (200 grams) Granulated Sugar: Provides structure and sweetness.
- 1 large Egg: Should be room temperature to emulsify smoothly into the creamed mixture.
- 1 teaspoon Pure Vanilla Extract: The essential background note that anchors the flavor.
- 1 teaspoon Pure Peppermint Extract: Essential for the signature, cooling flavor.
For the Red Swirl:
- 1 teaspoon Red Gel Food Coloring: Gel is highly recommended for concentrated color without adding excess moisture to the dough.
For the Topping:
- one half cup (about 70 grams) Crushed Peppermint Candies: This provides the final visual cue and textural crunch.

Baking the Beloved Swirl: Quick Overview
Creating the signature swirl is a methodical process that relies heavily on proper dough temperature. Do not rush the chilling stages, as this is critical to achieving clean, distinct stripes.
- Prepare the Dough Base: Whisk the dry ingredients together, then cream the butter and sugar until light and fluffy before integrating the wet ingredients.
- Divide and Color: Split the finished dough evenly. Mix the red gel food coloring thoroughly into one half.
- Chill the Dough: Wrap both portions separately and flatten them into thick disks. Refrigerate for at least four hours, or until completely firm.
- Shape the Ropes: Preheat the oven to three hundred fifty Fahrenheit. Working with small portions, roll the chilled dough into long, uniform ropes, ensuring they are not sticky or cracking.
- Twist and Bend: Take one red and one white rope, lay them side-by-side, and gently twist them together. Bend the top end down to form the characteristic cane hook.
- Bake and Garnish: Place the shaped cookies on baking sheets lined with parchment. Bake for approximately eight to ten minutes.
- Finish the Topping: Immediately upon removing the cookies from the oven, sprinkle them generously with the crushed peppermint candies while the heat still allows the sugar crystals to adhere.

Layering Flavors and Textures: A Deep Dive into Preparation
The success of these cookies is less about complex steps and more about mastery of technique—specifically, the correct preparation and handling of the dough.
Perfecting the Creaming Stage
The foundation of any superior shortbread is the creaming of the butter and sugar. Start with butter that yields easily to pressure; if it is too cold, the sugar crystals will tear the butter instead of creating tiny air pockets. Beat the softened butter and granulated sugar for a full three to five minutes using a stand mixer on medium speed. The mixture should transition from yellow and dense to a pale, voluminous white. This aeration process is what ensures the final cookie has that desirable light, airy crunch rather than a dense, crumbly texture. When adding the egg and extracts, scrape down the bowl constantly. The egg and flavorings should be fully incorporated before the flour is introduced, preventing overmixing later on.
Incorporating the Flour and Color
When adding the pre-whisked flour mixture, do so on the lowest speed possible. Stop mixing the moment the last streaks of flour disappear. A common mistake is to continue mixing until the dough is smooth, which activates too much gluten and results in tough cookies. Finish the mixing by hand, kneading gently until all the dry patches are incorporated. Once the dough is mixed, divide it accurately using a kitchen scale for best results. When adding the red gel color, work it in slowly. Gel color is highly pigmented; start with a small drop and knead until the hue is uniform and vibrant, resembling the richness of a true candy cane stripe.
The Art of the Swirl Roll
This is the most critical stage. After the mandatory chilling period, the dough should be firm, yet slightly malleable. If it is too cold, it will crack immediately upon rolling; let it sit at room temperature for five minutes. If it is too warm, the ropes will be sticky and lose their shape.
The rolling surface should be very lightly floured—just enough to prevent sticking. Take small, measured pieces of dough (about one teaspoon worth), roll them into balls, and then roll them out into long, pencil-thin ropes, typically six to seven inches long. The key to a clean twist is consistent thickness between the red and white ropes. Lay the two ropes parallel, press the ends together slightly, and then gently twist them together like a piece of yarn. The twisting motion should be slow and deliberate, aiming for three to four clean rotations along the length. Finally, curl the top inch inward to form the iconic hook shape, being careful not to stretch or thin the dough at the bend.
The Sensory Check for Doneness
These cookies bake quickly and should retain their pale color. Do not wait for them to turn golden brown, as this signifies overbaking. The cookies are ready when the edges appear set and slightly firmer than the center, and the surface looks matte and dry. This usually happens around the eight-to-ten-minute mark at three hundred fifty Fahrenheit. The entire kitchen will fill with a distinctive, warm vanilla-peppermint aroma right as they reach peak doneness. The moment they are out of the oven, press the crushed candies into the warm surface. This immediate application ensures the coarse sugar and peppermint shards adhere securely before the butter sets.
Creative Swaps and Flavor Twists
While the classic peppermint and vanilla combination is traditional, a few thoughtful variations can transform this recipe for different tastes or dietary needs.
- The Chocolate-Mint Hybrid: Replace one quarter cup of the all-purpose flour with high-quality unsweetened cocoa powder in the “red” portion of the dough (which will now be a deep brown). Swap the red food coloring for a deep brown gel color if needed, or omit it entirely. This creates a striking chocolate-mint contrast.
- The Citrus Swirl: For a year-round take, substitute the peppermint extract with one teaspoon of pure lemon extract and the zest of one lemon. You can color the second portion with yellow food coloring for a sunny disposition instead of red.
- Gluten-Friendly Flour: Use a one-for-one gluten-free baking blend that contains xanthan gum. The dough may be slightly more delicate and prone to cracking, so it is essential to keep it exceptionally chilled throughout the rolling and shaping process. Expect to add an extra five to ten minutes to the chill time.
- Vegan Butter Swap: Substitute the dairy butter with a high-quality, plant-based stick butter (not the tub variety). Vegan butters tend to have a higher moisture content, so you may need to add a teaspoon or two of extra flour to maintain the desired non-sticky consistency, and increase the refrigeration time by up to one hour.
Mastering the Art of the Cane Shape
Achieving the clean, uniform presentation that defines the best Candy Cane Cookies involves several specific techniques that go beyond the basic steps. These are the details that elevate a good cookie to a professional-grade treat.
- Temperature Cycling is Key: If you find the dough becoming too soft and sticky while rolling the ropes, stop immediately. Place the dough back into the refrigerator for fifteen minutes. Dough that is too warm will resist rolling into an even thickness and will bleed its colors when twisted. Work in small, controlled batches—roll, twist, and set on the baking sheet for four cookies, then return the remaining dough to the cold until ready for the next batch.
- Uniformity in Ropes: Use a ruler to guide the rolling process, aiming for ropes that are precisely six inches long and one quarter inch in diameter. Inconsistent thickness leads to uneven baking; a thin section will brown and dry out before a thick section is fully cooked.
- The Adhesion Technique: When combining the red and white ropes, lightly misting the edge of one rope with a few drops of water (using a clean spray bottle) before pressing them together can dramatically improve their bond. This prevents separation or cracking when you twist the fragile strips.
- Proper Peppermint Crush: Avoid using finely pulverized peppermint dust for the topping. The goal is a mix of small, coarse granules and small shards. Use a food processor for a few quick pulses, or place the candies in a zip-top bag and gently tap them with a rolling pin. This mixture offers better visual appeal and a more satisfying, punctuated crunch.
- Dealing with Cracks: If your rope cracks as you roll it, the dough is likely too dry or too cold. To remedy this, briefly knead the cracked piece in your hand for ten seconds—the heat of your palm will slightly warm and smooth the butter, making it pliable again. If the cracking is severe, lightly wet your hands with water and quickly knead before re-rolling.
- Cooling and Storage: Do not let the cookies cool entirely on the baking sheet; the residual heat will continue to cook them, leading to dryness. After two to three minutes—just long enough for the structure to stabilize—carefully transfer the warm cookies to a wire rack to stop the baking process and allow air circulation for a crisp base.
Troubleshooting the Perfect Dough Chill
The time spent chilling the dough is often treated as downtime, but it is a fundamental part of developing texture and ensuring a beautiful final appearance. This crucial phase prevents the stripes from bleeding together and the butter from melting too quickly in the oven, a phenomenon known as “cookie spread.”
Why Chilling is Non-Negotiable
When you cream butter and sugar, the friction and incorporation of air warms the butter, making it soft. If you immediately roll and bake the dough, the soft butter melts rapidly, causing the cookies to lose their precise shape. Chilling serves two purposes: it firms up the butter and it relaxes the gluten formed during the mixing of the flour. When the butter is cold, it melts slower, allowing the cookie structure to set before the spread occurs. This is vital for maintaining the sharp, delineated lines of the red and white doughs.
Tips for Effective Chilling
To maximize the effectiveness of the refrigeration time, press the dough into a flat, one-inch-thick disk before wrapping it. This exposes more surface area to the cold air, speeding up the process and ensuring even chilling. For faster results, consider placing the disks in the freezer for twenty-five to thirty minutes instead of the fridge for four hours, checking their firmness frequently. If you are short on time, it is better to slightly over-chill the dough and let it warm up for a few minutes than to under-chill it and risk a sloppy swirl. A truly cold dough cuts down on the overall working time required for rolling and shaping.
Pairing the Peppermint Swirl
These festive shortbreads are versatile and pair well with beverages and accompaniments that complement their rich butter and intense peppermint notes.
- Espresso and Cream: The bitterness and warmth of a strong espresso shot, especially when topped with a dollop of sweet cream, provides a robust counterpoint to the cookie’s sweetness.
- Classic Hot Chocolate: This is the traditional pairing. The intense chocolate flavor welcomes the sharp peppermint profile, making a cohesive winter dessert experience.
- Simple Mulled Cider: The warm spices—cinnamon, clove, and allspice—found in quality mulled cider add an earthy, aromatic layer that balances the bright, singular taste of the peppermint.
- Vanilla Bean Ice Cream: For an unexpected dessert presentation, serve the cookies slightly crushed over a scoop of high-quality vanilla bean ice cream. The cold, creamy base acts as a perfect canvas for the cookie’s crunch and flavor.

Your Baking Questions Answered
How do I prevent the red color from bleeding into the white dough?
Color bleeding happens when the dough is handled too much or is too warm. Ensure both doughs are consistently cold from the refrigerator. Roll and twist the ropes quickly, place them on the baking sheet immediately, and get them into the preheated oven without delay. Using gel food coloring instead of liquid dye is also crucial, as liquid adds unnecessary moisture.
Can I prepare the dough farther in advance?
Yes, the dough is excellent for make-ahead preparation. You can store the unmixed red and white dough disks, tightly wrapped, in the refrigerator for up to five days. For longer storage, the dough can be frozen for up to two months. Thaw it overnight in the refrigerator before proceeding with the rolling and shaping instructions.
Why did my cookies spread flat while baking?
Spreading is usually caused by butter that was too soft during the creaming stage, or dough that was too warm when it entered the oven. Ensure your butter is only “softened,” not melted or greasy. If you suspect your dough is warm after shaping, place the entire baking sheet into the freezer for five to ten minutes before baking.
Is there an alternative to peppermint extract for flavoring?
If you prefer a milder mint flavor, you can try using spearmint extract, though this will change the character of the cookie significantly. Alternatively, you can omit the extract entirely and rely solely on the crushed peppermint candy topping for the required flavor and aroma.
What is the best way to crush the peppermint candies?
The safest and most effective method is to seal the candies in a heavy-duty, zip-top plastic bag, remove as much air as possible, and then use the bottom of a heavy skillet or a rolling pin to gently smash them. Avoid using a food processor for too long, as this will create too fine a powder.
Nutritional Breakdown
| Nutrient | Amount per Serving |
| Calories | 155 kcal |
| Protein | 2 g |
| Carbs | 22 g |
| Fat | 7 g |
| Fiber | 1 g |
| Sugar | 12 g |
| Sodium | 50 mg |
An Estimate of Values
Nutrition information is an estimate and may vary based on preparation and ingredients used.

The Classic Peppermint Swirl: Perfecting Your Candy Cane Cookies
Ingredients
- 2 cups All-Purpose Flour (240 grams)
- 1 tsp Baking Powder
- 0.5 tsp Fine Sea Salt
- 1 cup Unsalted Butter, softened (226 grams)
- 1 cup Granulated Sugar (200 grams)
- 1 large Egg, room temperature
- 1 tsp Pure Vanilla Extract
- 1 tsp Pure Peppermint Extract
- 1 tsp Red Gel Food Coloring
- 0.5 cup Crushed Peppermint Candies (70 grams)
Instructions
- Whisk together the flour, baking powder, and salt. Cream the softened butter and sugar until light and fluffy. Beat in the egg, vanilla, and peppermint extract. Mix in the flour mixture on low speed until just combined.
- Divide the dough equally. Mix the red gel food coloring into one half. Form both portions into flat, one-inch thick disks, wrap tightly, and refrigerate for a minimum of four hours until completely firm.
- Preheat the oven to three hundred fifty Fahrenheit. Working in small batches, roll small pieces of the chilled red and white dough into six-inch-long, pencil-thin ropes of uniform thickness.
- Lay one red and one white rope parallel. Gently twist them together 3-4 times. Curl the top end down to form the cane hook and place on a parchment-lined baking sheet.
- Bake for eight to ten minutes, until edges are set and the surface looks dry. Immediately remove from the oven and sprinkle generously with crushed peppermint candies. Cool slightly on the sheet before transferring to a wire rack.
Notes
Equipment
- stand mixer or hand mixer
- Baking sheets
- parchment paper
- wire rack For cooling


