There is something undeniably nostalgic and deeply satisfying about a golden-brown chicken perched atop a steaming can of beer. While traditionally a backyard barbecue staple, bringing this method indoors results in some of the most succulent, flavor-infused poultry you will ever experience. This recipe for Baked Beer Can Chicken transforms a humble three-pound bird into a centerpiece worthy of a Sunday feast. By utilizing the moisture from a light-flavored lager and a robust, aromatic dry rub, the meat remains incredibly tender while the skin achieves a beautiful, seasoned finish. Whether you are a seasoned home cook or a beginner looking to impress, this oven-based method provides consistent, mouth-watering results that your whole family will request time and time again.
Table of Contents
Essential Ingredients for Success
To achieve the best results, ensure your spices are fresh and your chicken is high quality. The following measurements are designed to perfectly coat a standard whole chicken.
- one fourth cup garlic powder
- two tablespoons seasoned salt
- two tablespoons onion powder
- one tablespoon dried oregano
- one tablespoon salt
- one and one half teaspoons ground black pepper
- two twelve fluid ounce cans light-flavored beer (such as Bud Light), divided
- one three pound whole chicken
- four green onions, sliced
- four green onions, cut in half crosswise

Master Instructions for the Oven
- Begin by gathering all your ingredients and tools. Preheat your oven to 350 Fahrenheit (175 Celsius).
- In a small mixing bowl, combine the garlic powder, seasoned salt, onion powder, dried oregano, salt, and black pepper. Stir until the spices are thoroughly integrated.
- Open the first beer can. Pour one third of that can into the bottom of a 9×13-inch baking dish. Place the remaining open beer can upright in the center of the dish.
- Rinse the chicken under cold running water. Carefully remove and discard the giblets and neck. Drain any excess water and pat the skin completely dry with paper towels.
- Carefully fit the whole chicken over the open beer can so the can is inside the cavity and the legs are at the bottom, acting as a tripod to stabilize the bird.
- Using a small paring knife, cut a small slit on each side of the chicken breasts. Tuck the tip of each wing into these slits to ensure they stay close to the body for even cooking.
- Generously rub the reserved spice mixture over the entire surface of the chicken, ensuring every inch is covered.
- Pat the sliced green onions onto the exterior of the chicken so they adhere to the spice rub. Press the green onion halves into the top of the chicken cavity.
- Open the second beer can and pour half of it into the bottom of the pan.
- Place the chicken in the oven and bake for 45 minutes.
- After 45 minutes, pour the remaining beer from the second can into the pan. Continue baking for approximately 30 additional minutes, or until the juices run clear and an instant-read thermometer inserted into the thickest part of the thigh (avoiding the bone) reads 180 Fahrenheit (82 Celsius).
- Carefully remove the chicken from the oven and discard the beer can. Cover the chicken with a doubled sheet of aluminum foil.
- Let the bird rest for 10 minutes before carving and serving.

In-Depth Cooking Analysis and Process Expansion
The magic of Baked Beer Can Chicken lies in the dual-action cooking process. While the dry heat of the oven crisps the exterior skin, the liquid inside the beer can reaches a simmer, releasing flavored steam directly into the interior of the bird. This internal hydration prevents the breast meat from drying out, which is a common pitfall when roasting poultry at home.
When you preheat your oven to 350 Fahrenheit, you are setting the stage for a steady, gentle roast. This temperature is high enough to render the fat under the skin but low enough to allow the connective tissues in the dark meat to break down without burning the delicate spices. The choice of a 9×13-inch baking dish is intentional; it provides enough surface area for the beer to create a humid environment while catching all the savory drippings that can later be used for a light jus.
The preparation of the chicken is a critical phase. Rinsing the bird and removing the giblets is the first step in ensuring a clean flavor profile. However, the most important part of the prep is patting the skin dry. Moisture is the enemy of browning. By using paper towels to remove every drop of water, you allow the spice rub to adhere better and ensure the skin roasts rather than steams.
Tucking the wings—often called the “wing-tip tuck”—is a professional touch that prevents the thin tips of the wings from burning before the thick thighs are cooked through. It also creates a more compact shape, which helps the chicken balance more securely on the beer can. When applying the rub, don’t be afraid to get your hands dirty. Massaging the garlic powder, onion powder, and seasoned salt into the skin helps the flavors penetrate deeply. The addition of sliced green onions provides a fresh, vegetal contrast to the pungent dried spices, while the halved onions inside the cavity act as an aromatic “plug,” trapping the beer steam inside the bird for maximum infusion.
Monitoring the internal temperature is the only way to guarantee safety and quality. While 180 Fahrenheit is the traditional benchmark for a whole chicken to ensure the joints are fully cooked and no pink remains near the bone, the ten-minute resting period under foil is equally vital. During this time, the muscle fibers relax and reabsorb the juices. If you cut the chicken immediately, those juices would spill out onto the cutting board, leaving the meat dry.
Enhancing Flavor with Unique Culinary Insights
To elevate this dish from a standard weeknight dinner to a gourmet experience, consider the science behind the ingredients. The “light-flavored beer” recommendation is specific for a reason. Heavy stouts or overly hoppy IPAs can become bitter when reduced or heated for long periods. A simple lager or pilsner provides a subtle malty sweetness and a touch of yeastiness that complements the poultry without overpowering the herbal notes of the oregano.
The spice blend in this recipe is a powerhouse of savory elements. Garlic and onion powders provide the “umami” base, while the seasoned salt adds layers of complexity that plain table salt cannot achieve. If you find your skin isn’t as crispy as you’d like, you can lightly spray the seasoned chicken with a bit of olive oil or cooking spray before placing it in the oven. This helps the heat conduct more efficiently across the surface of the spices.
Another insight involves the beer in the pan. By adding the beer in stages—part at the beginning and the rest halfway through—you are managing the humidity level in the oven. If all the liquid were added at once, the pan might dry out before the chicken is finished. Refreshing the liquid at the 45-minute mark ensures a constant supply of steam and prevents the drippings from scorching on the bottom of the dish.

Understanding Modifications and Substitutions
While the classic recipe is a crowd-pleaser, there are several ways to adapt this dish based on what you have in your pantry.
- Beer Alternatives: If you prefer not to use alcohol, you can substitute the beer with chicken broth, ginger ale, or even white grape juice. The goal is to provide a flavorful liquid that will steam. Simply pour the liquid into an empty, clean soda or beer can.
- Spice Variations: While the garlic and onion powder base is essential, you can swap the oregano for dried thyme or rosemary for a more “rotisserie” style flavor profile. For a kick of heat, add a teaspoon of smoked paprika or a pinch of cayenne pepper to the rub.
- Onion Substitutions: If you do not have green onions, you can use thin slices of shallots or even very thinly sliced yellow onions. The goal is to add a fresh aromatic element that softens during the roasting process.
- Size Adjustments: If you are cooking a larger bird, perhaps four or five pounds, you will need to increase the roasting time. A good rule of thumb is approximately 20 minutes per pound, but always rely on your meat thermometer rather than the clock.
Ideal Accompaniments and Serving Suggestions
The bold flavors of Baked Beer Can Chicken pair beautifully with sides that can soak up the extra juices or provide a crisp texture contrast.
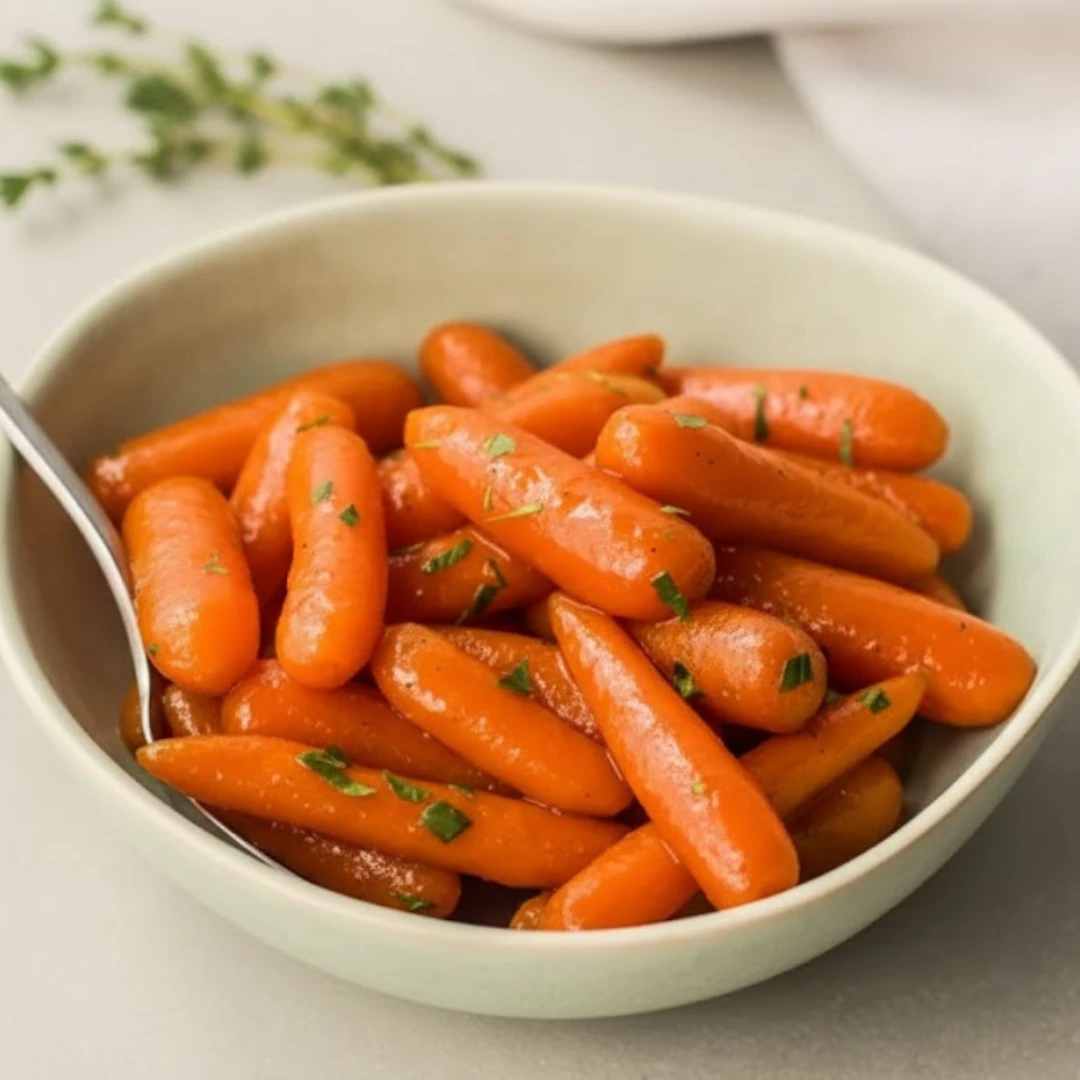
Consider serving the chicken alongside roasted root vegetables like carrots, parsnips, and potatoes. These can actually be placed in the same oven (on a separate tray) to cook simultaneously. The earthy sweetness of roasted carrots balances the salty, garlicky crust of the chicken.
For a lighter option, a crisp green salad with a lemon-tahini dressing or a simple vinaigrette cuts through the richness of the dark meat. Since the recipe uses beer, a side of warm, buttery stovetop corn or a jalapeño cornbread is a natural fit.
When it comes to serving, presentation is key. Bring the chicken to the table still standing on the can for a “wow” factor, then carefully move it to a carving board. Slice the breasts into thick medallions and separate the drumsticks and thighs. Spoon any remaining liquid from the baking dish over the meat just before serving to add one last burst of flavor.
Deep-Dive FAQ
How do I safely remove the chicken from the beer can after it is cooked?
Removing the chicken requires caution because the beer can and the liquid inside will be extremely hot. Use a pair of heavy-duty tongs to grip the chicken by the neck area and a sturdy spatula to slide under the bottom of the can. Carefully lift both together onto a tray, then use the tongs to steady the chicken while you gently twist and pull the can out of the cavity. Always wear oven mitts during this process.
Can I use a glass bottle instead of an aluminum can?
It is strongly recommended to stick with an aluminum can. Glass bottles are not designed to withstand the direct heat of an oven in this manner and can potentially shatter due to thermal shock. Aluminum cans are lightweight, heat-conductive, and fit perfectly into the cavity of a standard three-pound chicken. If you are concerned about the plastic lining in cans, there are stainless steel “chicken thrones” designed specifically for this purpose.
What if my chicken is too large to stand up in the oven?
If your oven racks don’t provide enough vertical clearance for a standing chicken, you may need to lower the bottom rack to the lowest position. If it still doesn’t fit, you can use a “side-lay” method where the chicken is propped up at an angle using the can, or you can simply roast the chicken traditionally and pour the beer and aromatics directly into the roasting pan to create a similar steam effect, though you won’t get the same internal infusion.
Is it necessary to rinse the chicken before cooking?
While this recipe follows the traditional step of rinsing the chicken, many modern food safety guidelines suggest that rinsing can spread bacteria around the sink. If you choose to rinse, be very diligent about sanitizing your workspace afterward. The most important step for the recipe’s success is the “pat dry” phase, as this ensures the skin gets crispy rather than rubbery.
A Memorable Meal for Any Occasion
This Baked Beer Can Chicken is more than just a recipe; it is a foolproof method for achieving professional-level results in a home kitchen. The combination of the aromatic steam from the beer and the savory crust of the garlic-heavy rub creates a sensory experience that is hard to beat. By following these detailed steps and allowing the bird to rest properly, you ensure a meal that is juicy, tender, and packed with flavor. It is a testament to how a few simple ingredients and a unique cooking technique can transform a standard roast into something truly extraordinary.
Nutrition Information
| Nutrient | Amount Per Serving |
| Calories | 564 |
| Total Fat | 26g |
| Saturated Fat | 7g |
| Cholesterol | 145mg |
| Sodium | 3277mg |
| Total Carbohydrate | 20g |
| Dietary Fiber | 3g |
| Total Sugars | 4g |
| Protein | 49g |
| Vitamin C | 9mg |
| Calcium | 121mg |
| Iron | 4mg |
| Potassium | 717mg |
Nutritional Disclaimer
The nutritional data provided is an estimate based on the full amount of beer and spice rub used in the preparation. Actual consumption may vary depending on how much of the rub and pan liquid is consumed with the meat. If you are on a sodium-restricted diet, please note the high sodium content and consult with a healthcare professional.

Baked Beer Can Chicken
Ingredients
- 0.25 cup garlic powder
- 2 tbsp seasoned salt
- 2 tbsp onion powder
- 1 tbsp dried oregano
- 1 tbsp salt
- 1.5 tsp ground black pepper
- 2 12oz cans light-flavored beer (divided)
- 3 pounds whole chicken
- 4 green onions, sliced
- 4 green onions, cut in half crosswise
Instructions
- Gather all ingredients. Preheat the oven to 350 degrees Fahrenheit (175 degrees Celsius).
- Combine garlic powder, seasoned salt, onion powder, dried oregano, salt, and pepper in a small bowl.
- Pour 1/3 of the first beer can into a 9×13-inch baking dish. Place the remaining open beer can in the center of the dish.
- Rinse chicken under cold water, discard giblets/neck, and pat dry. Fit the chicken over the beer can with legs on the bottom.
- Cut a small slit in each breast side and tuck wing tips in. Rub the seasoning mixture over the entire chicken.
- Pat sliced green onions onto the skin and press halved onions into the top cavity. Pour 1/2 of the second beer can into the pan.
- Bake for 45 minutes. Pour remaining beer from the second can into the pan. Bake 30 more minutes until thigh reaches 180 degrees Fahrenheit.
- Discard can. Cover chicken with a double sheet of foil and let rest for 10 minutes before slicing.
Notes
Equipment
- 9×13-inch baking dish
- small mixing bowl
- Paring knife
- Instant-read thermometer
- aluminum foil